
Introduction
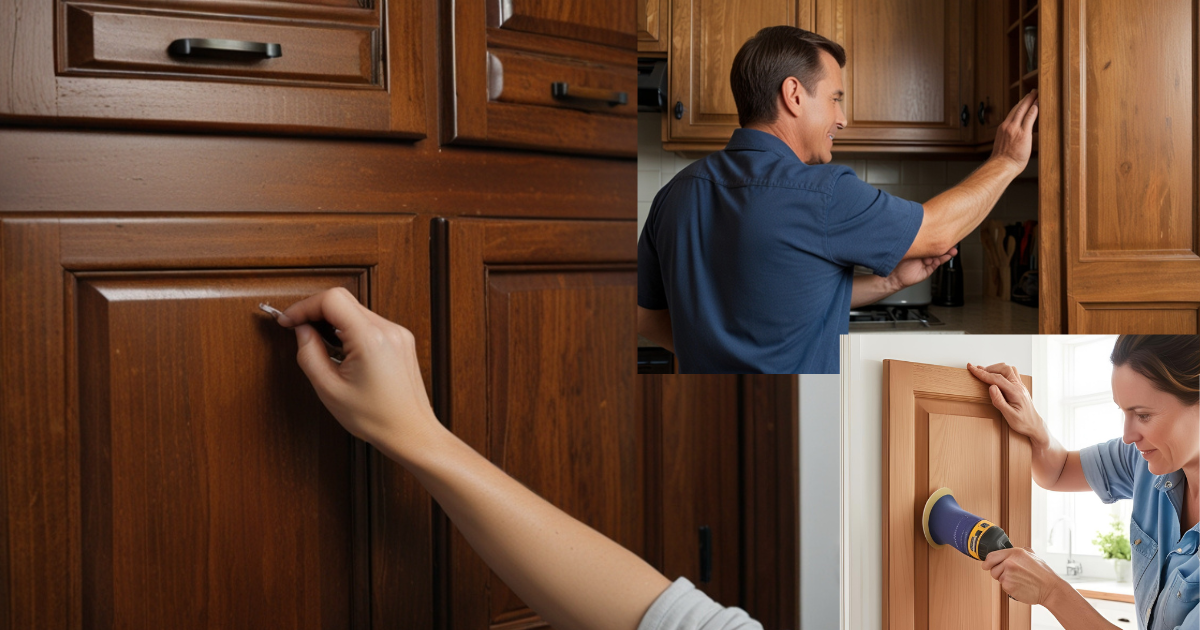
When I moved into my first home, the kitchen had great bones—but the cabinet doors were dull, chipped, and stuck in the ’90s. Instead of replacing them, I decided to refinish them. The process felt intimidating at first, but step by step, I discovered how to refinish kitchen cabinet doors on a budget and with tools I already had.
If you’re facing a similar situation, don’t worry! With patience, the right approach, and some elbow grease, you can transform your kitchen’s look in just a weekend. This guide covers everything you need—from prep to paint—with clear, easy-to-follow steps and budget-friendly tips. Let’s dive in and give those cabinets the refresh they deserve!
—
1. Why You Should Learn How to Refinish Kitchen Cabinet Doors
Refinishing cabinet doors can dramatically change your kitchen without a complete renovation.
Save thousands compared to replacing cabinets.
Customize with your favorite colors or wood finishes.
Increase home value and appeal to future buyers.
Refining kitchen cabinet doors empowers you to update your style whenever you like—without professional help.
—
2. Gather the Right Tools Before You Begin To Refinish Kitchen Cabinet Doors
Before you start, make sure you have all the essentials on hand.
You’ll need:
Screwdriver or drill
Degreaser and cleaning rags
Sandpaper (100–220 grit) or sanding block
Wood filler (if needed)
Primer and paint or stain
Paintbrushes or sprayer
Drop cloths and painter’s tape.
Being prepared makes the refinishing process smooth and stress-free.
—
3. Start by Removing Cabinet Doors and Hardware
It’s tempting to paint with the doors still in place, but removing them is worth the effort.
Here’s how:
Use a screwdriver to remove hinges and handles.
Label each door and its location for easy reassembly.
Place all screws and hardware in ziplock bags.
Pro Tip: Lay doors flat on a work surface for even drying and fewer drips.
—
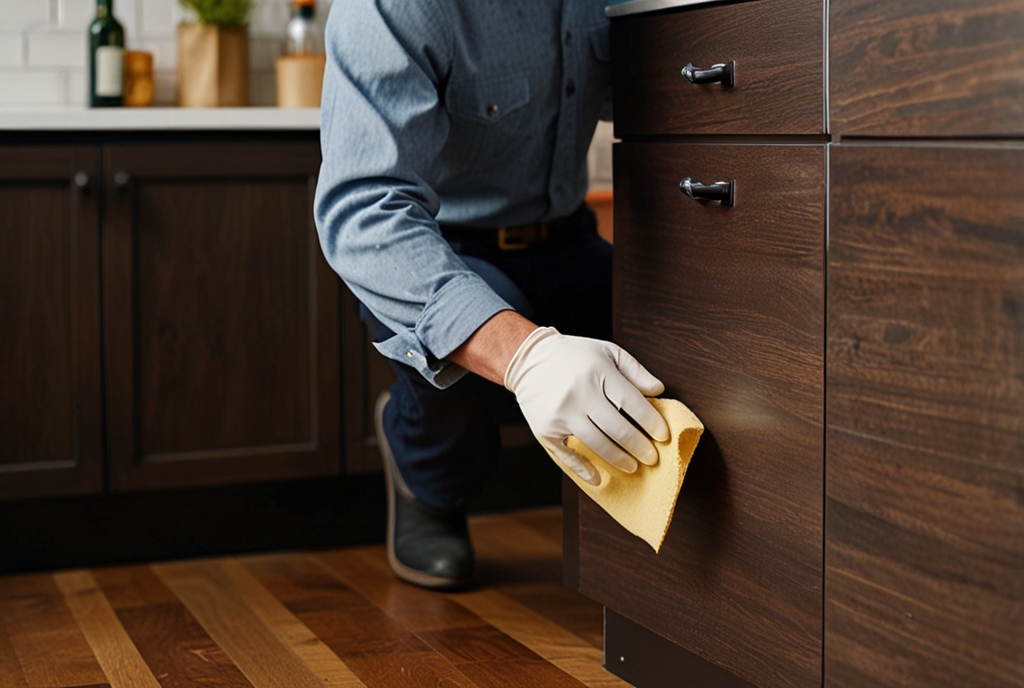
4. Clean All Surfaces Thoroughly Before Sanding
Kitchen grease is your biggest enemy when refinishing.
Use a degreasing cleaner like TSP or vinegar solution.
Scrub all doors, frames, and crevices.
Rinse with clean water and dry thoroughly.
Skipping this step can cause paint or stain to peel later.
—
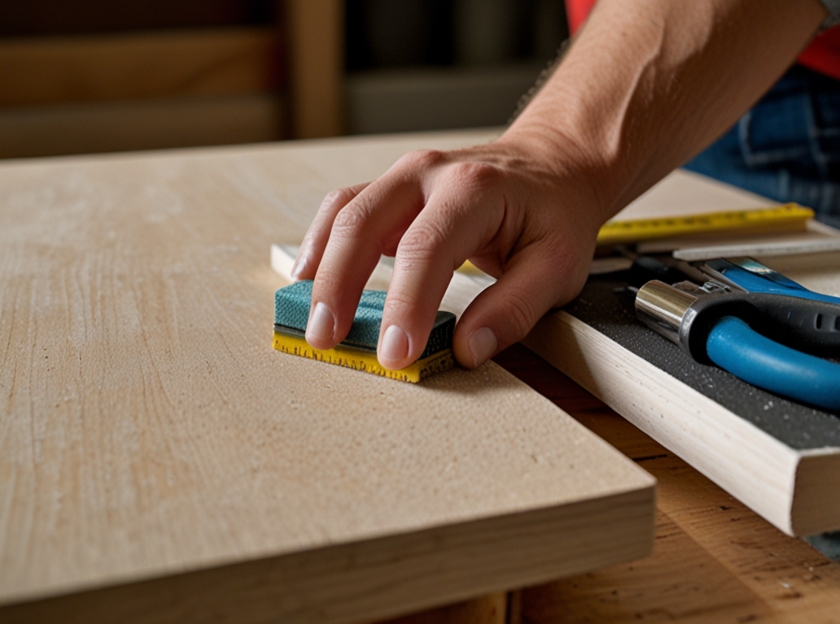
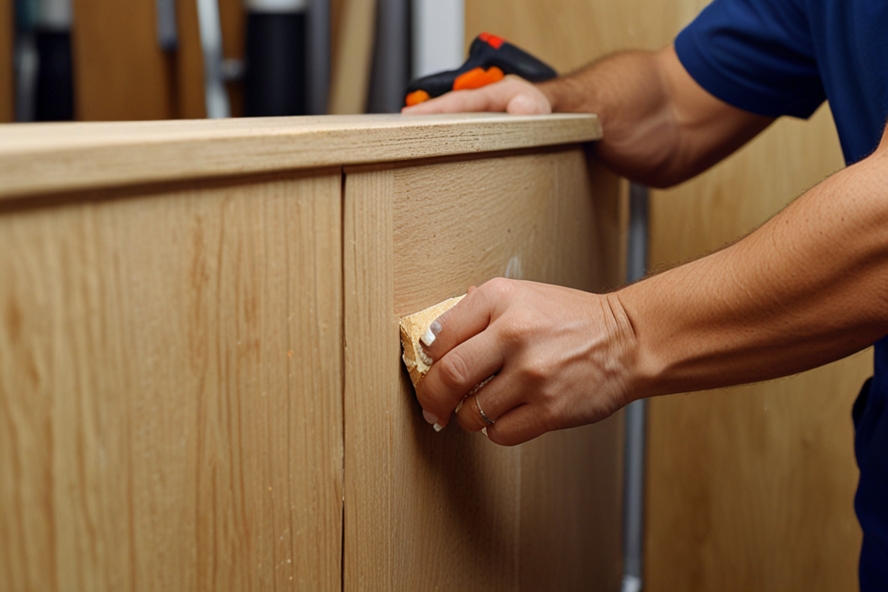
5. Sand the Surface to Remove Old Finish
Sanding gives the new finish something to grip onto.
Steps to follow:
Start with 100–120 grit to remove glossy layers.
Finish with 220 grit for a smooth touch.
Wipe down all dust with a tack cloth.
Important: Always sand in the direction of the wood grain.
—
6. Fill Dents and Repair Any Cabinet Damage
Check each door carefully for dents, holes, or scratches.
Use wood filler to repair damaged areas.
Let it dry completely and sand again lightly.
Make sure the surface is even before moving on.
Refinish kitchen cabinet doors is all about preparation—take your time here.
—
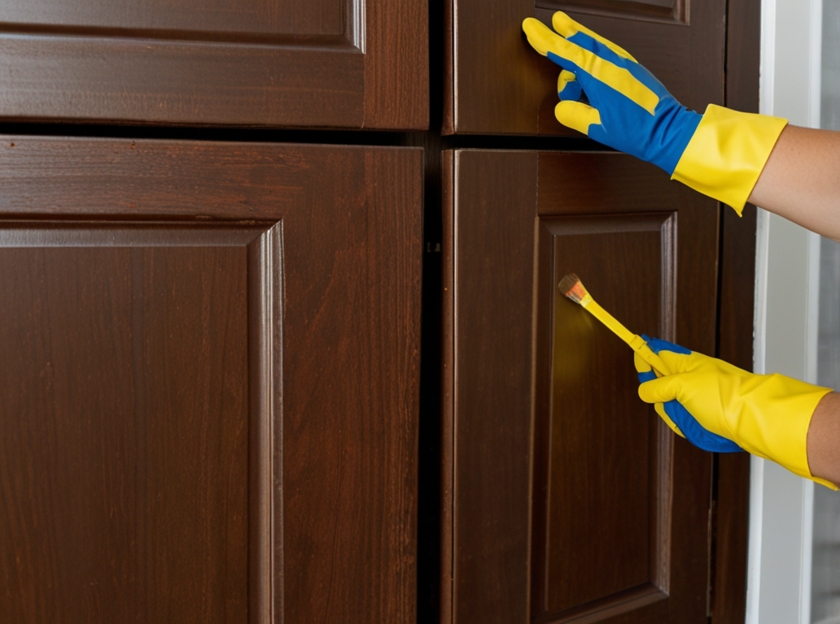
7. Apply Primer for a Long-Lasting Finish
Priming is crucial if you’re painting over wood or a dark stain.
Choose a high-adhesion primer for best results.
Use a brush for corners and a roller or sprayer for flat areas.
Allow Primer to dry as per instructions.
Pro Tip: One coat is usually enough, but go for two if covering a dark tone.

—
8. Choose the Right Paint or Stain Finish
Your cabinet finish can completely change your kitchen vibe.
Popular options include:
Latex paint for a clean, bright look
Oil-based paint for durability (longer drying time)
Gel stains for a classic woodgrain appearance
Matte or satin finishes for modern appeal
Make sure the product is made specifically for cabinets or woodwork.
—
9. Use Smooth Painting Techniques for a Professional Look
How you apply the paint matters just as much as the product itself.
Use a high-quality brush or foam roller for minimal marks.
Spray painting gives a sleek, even finish.
Always paint in thin, even coats.
Let dry completely between coats (usually 6–12 hours).
Remember: Rushing leads to bubbles, streaks, and uneven color.
—
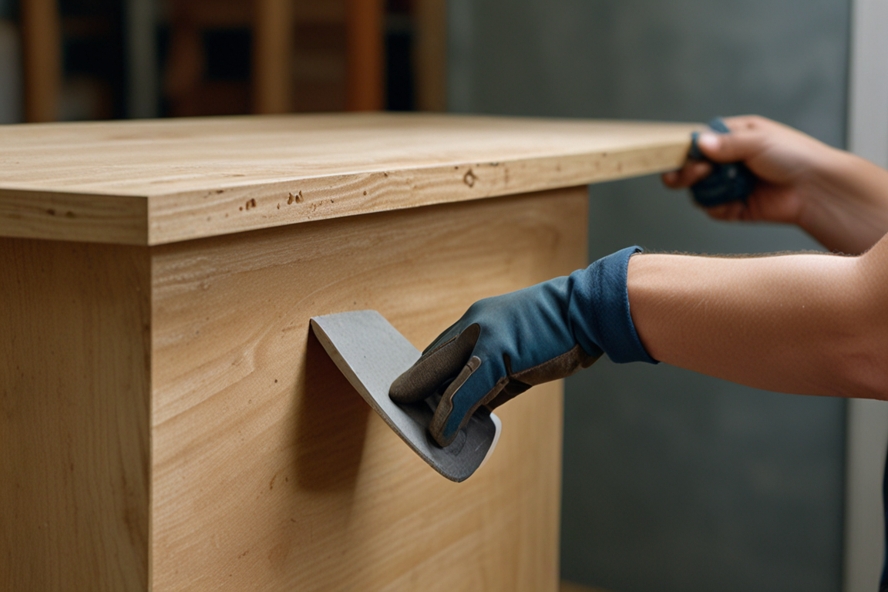
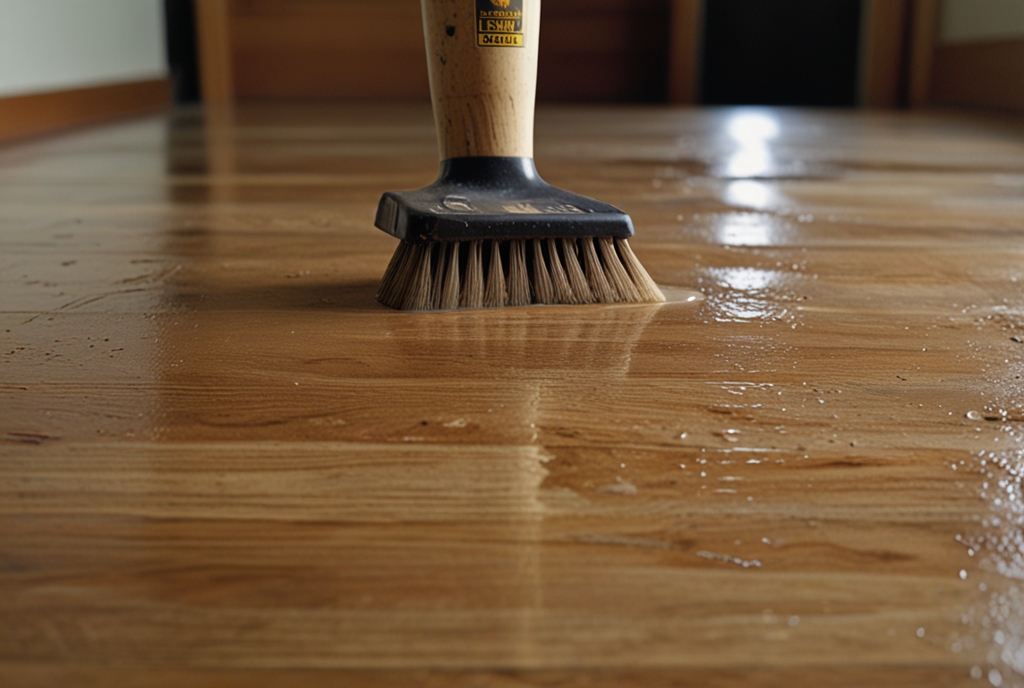
10. Seal the Finish for Durability and Protection
Sealing your work helps protect it from water, grease, and everyday wear.
Use a clear polyurethane topcoat or finishing wax.
Apply with a brush or cloth in thin, even layers.
Let dry and lightly sand between coats if needed.
This step ensures your beautifully refinished kitchen cabinet doors last for years.
—
11. Reinstall Doors and Hardware Carefully
Once everything is dry and sealed, it’s time to put your kitchen back together.
To reinstall:
Use your labels to match each door to its frame.
Screw hinges and handles back in place.
Double-check alignment and spacing.
Final Touch: Consider updating old hardware for a modern upgrade!
—
12. Maintenance Tips to Keep Your Cabinets Looking Fresh
Protect your hard work now that you’ve learned how to refinish kitchen cabinet doors!
Maintain with these tips:
Clean gently with a damp cloth—no harsh scrubbers.
Avoid slamming doors to preserve alignment.
Touch up nicks or chips as soon as you spot them.
Well-maintained cabinets stay beautiful for years without needing a redo.
—
FAQs: How to Refinish Kitchen Cabinet Doors
1. Do I need to sand before painting cabinet doors?
Yes! Sanding ensures the new finish adheres properly. Skipping this step can result in peeling or uneven paint.
2. Can I refinish kitchen cabinet doors without removing them?
Technically, yes, but it’s not recommended. Removing the doors gives you better access and a cleaner, more professional result.
3. What is the best type of paint for kitchen cabinets?
Use high-quality latex or oil-based paint explicitly designed for cabinetry. Satin or semi-gloss finishes are ideal for durability.
4. How long does it take to refinish kitchen cabinet doors?
On average, it takes 2–3 days: day one for prep and priming, day two for painting and drying, and day three for sealing and reassembly.
—
